Showing posts with label Makeover. Show all posts

Tuesday, October 18, 2011

Bringing Nature In Through Photography

I've been shaking things up at Chez Milton. Some rooms are getting completely redone, others just reconfigured and a few,  just new touches here and there. I don't have an endless decorating budget (sad face) so I am always looking for inexpensive ways to freshen up a space.

In the last couple of weeks, I have been to a couple local farms, a road trip and a short adventure trip to Seattle.  When I finally downloaded all of my pictures, I noticed a trend in what I have been photographing.....nature - or more specifically, flowers and food!

I'm thinking these would be great in a kitchen.


And these for a great autumnal display. The pumpkin pictures could be printed to make great name tags for Thanksgiving....or how about adding a few pictures to your mantle.


I've been on the hunt for some artwork with bright green for my office redo. I came across these flowers at a gourmet market in Seattle. Stay tuned for the office update with a few of these on the wall. (I actually snapped these with my phone... (gasp) I didn't have my camera in hand!


All of these beauts were photographed at the farmer's market in Seattle. I've been using a macro style lately and I love the effect. You get to see all of the intricate details up close and you have the opportunity to capture interesting angles.


One of the many benefits of taking pictures at a farm, or farmers market is that the items are all displayed beautifully - so just point and click not hassle with staging!

Thursday, June 23, 2011

Anatomy of a Gallery Wall

I have been eyeing all the amazing gallery walls out there for months and knew someday I would create my own. The main wall in our living room has been empty for almose 8 years! I know how sad is that.


We spend most of our time in our family room but still the blank space drove me nuts. I was very determined to hang something other than a big picture with something flanking either side. I really wanted it to capture people's attention and make them linger a bit over it....

Then a light bulb went off....after seeing all of these fabulous gallery walls around I thought...uh duh...you have a huge blank wall!  So off I went to plan the wall. I went through all of my stuff...places that I haven't looked in a while including the garage and I had all but a couple items.

I taped out the size (It's about 6.5 feet high and 8 feet wide)

Then taped out the same size on the floor so I could play with the arrangement. I had one of my friends cone over to keep me motivated and keep me from going insane.

I took a picture because I knew I would be working on this over severl days (in truth it was months)
Some things reamined and some changes as I started hanging on the wall...


I started with the top row and worked my way down the sides and then the center and the bottom last.
(you can see the picture layout taped to the wall)
             

Ta-Da!
The shelves and objects give it depth and texture and eye has an opportunity to travel around a bit.
In truth the bottome left corner is temporary. I have something in mind but am having a bit of a challenge fulfilling it.

A view looking down - hard to believe I lived with a blank wall for so long!

Here are a few close-ups

My daughter's art work from pre-school (point for mom for framing and putting on the wall!)


Silohuette I made from craft paper (I'll post about it soon)

Old film reel from a flea market. and one of my antique cameras. I used to collect them but in a frenzy of purging I sold a bunch in a garage sale and just kept my two favorite. The shelf is from Ikea from about 10 years ago. I bought a bunch to display the camera but never used them and they have been in the garage ever since.


I typed the lyrics to our wedding song and uploaded the image to Costco to have it printed on canvas.


Yay - out living room is finally complete (well until I decide to change something else). I would love to paint but so not going to happen - we had to have scaffolding because the ceilings are 20 feet high...so it will stay red for a looooong time.

Join the Party

House of Hepworths
Somewhat Simple
The Shabby Chic Cottage
Beyond The Picket Fence

Wednesday, June 8, 2011

Backyard Vignette

In between the bouts of rotten weather I have been trying to spruce up the backyard. The more I do, the more I find that still needs to be done! Our yard is small so I've tried to creates niches to use every ounce of space.  We entertain often so I want kids and grownups alike to relax and enjoy. I've been painting like crazy to add that pop of color and refresh the old.....

Here is a before of our seating spot by the firepit....pretty bland and boring


and the after so far...


the picture is terrible because I forgot to take it this morning and ran out in the worst light possible. The art on the wall I posted about here.

Do you recognize the fern pillows??? They are from here and the green ones in the back are placemats too! I swear I truly never will look at placemats the same way ever again!!!!

And the pots and plant stands I've had forever - I think I got them from a garage sale or thirift store. They looked terrible...oh and avert your eyes from the deck in need of staining and the ugly paint on the railing (like I said lots to do!)


this one is actually meant to hold a feed bag for a horse - I've always liked it as a plant stand. you can see it to the right of the after picture.


A few cans of my favorite Rust-oleum in aqua and keylime and black satin and ta-da color!
Look how big the puppy is getting and he appreicates the new motif - see how relaxed he is!

Here is the before and after again


Join the party

Friday, June 3, 2011

From Fifties to Fabulous

Ahhh the weekend and for me that means spending time with family in Santa Barbara.  I love it here and it's especially nice to be away from the dreary weather of NorCal...hello it's June why is it still raining????

The last time I was here I bought this lovely cabinet for $60 at a thrift store.  It reminded me so much of one that I've had my eye on in the Ballard Designs Catalog.  We were in need of a cabinet to hold the t.v. components and I knew this would be perfect!

I think this would also make a cute bar.


Just look at the detail.....love, love, love
When I showed my husband, he said "Call June Cleaver and tell her to take her cabinet back"....


I really like the diamond grate and as much as I hate taking the time to prep I knew there was no other way.
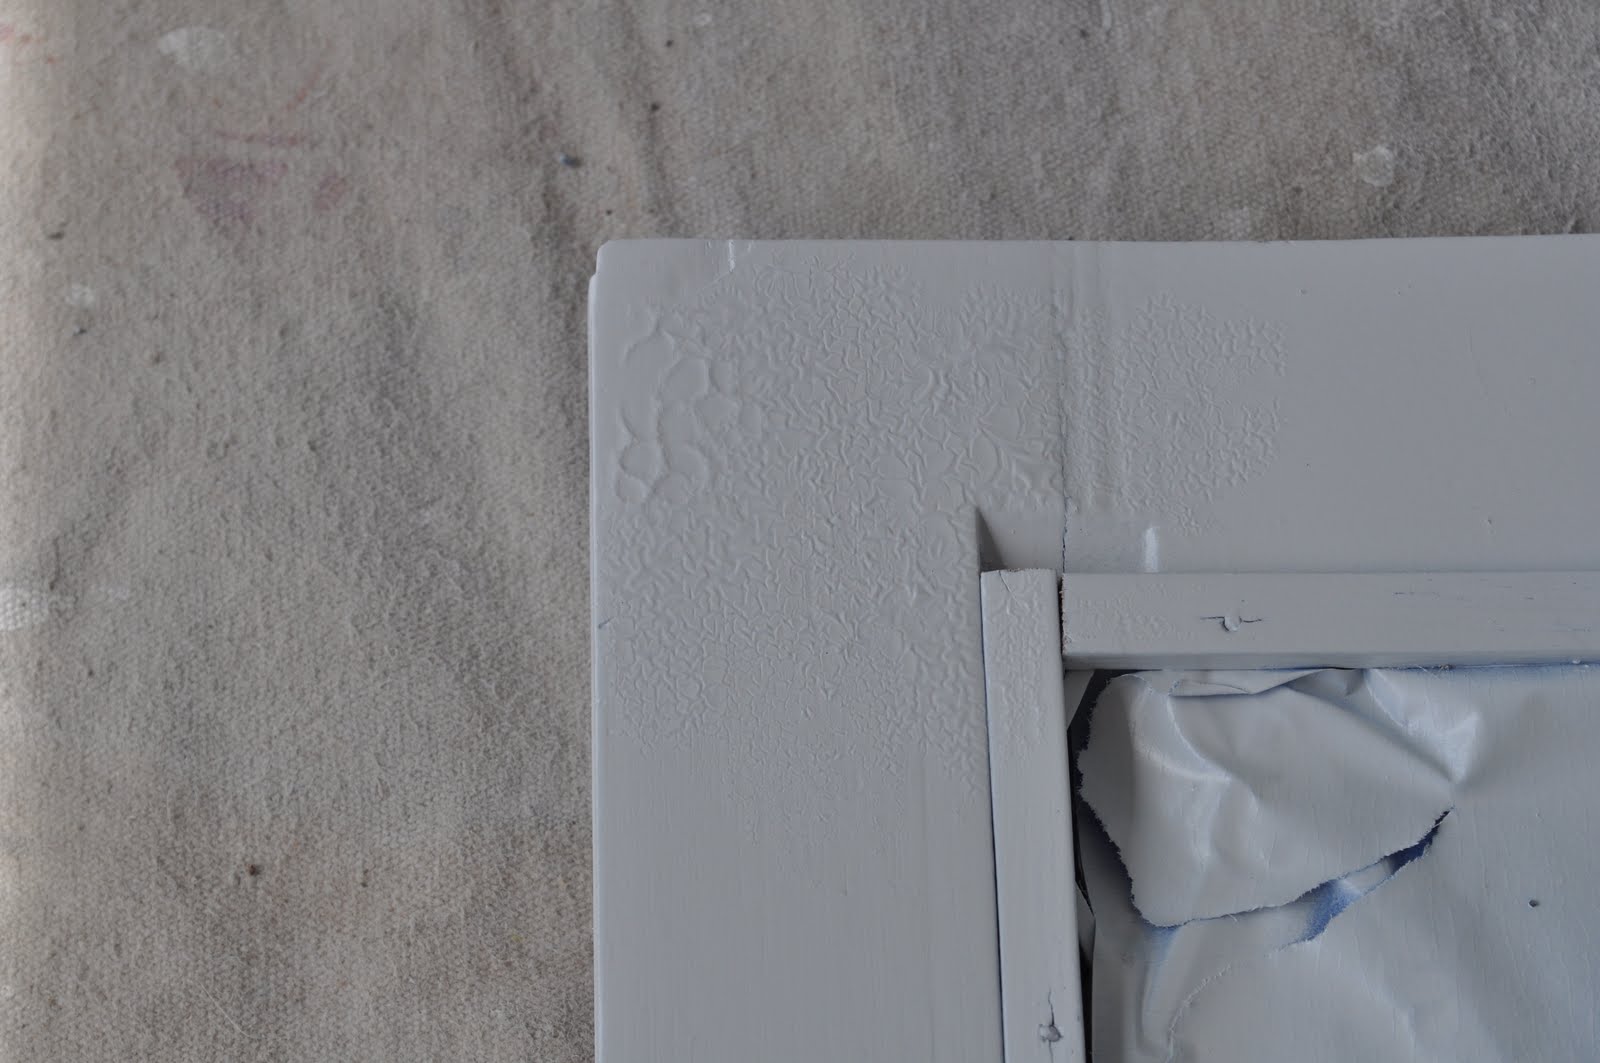
I've refinished all kinds of furniture, but this is the first time this has ever happened to me...eeeew cracks and bubbles. I sanded and primed and sanded and primed...I lost count of how many times.  And it was only in a few places.


I decided to wallpaper the back for that little something extra. I knew most people would never see it but I would know.  Kinda like wearing really pretty lingerie....


I fell in love with this Allen + Roth wallpaper from Lowe's. More of this wallpaper to come later...like I said I love it!


Measure twice...cut once


Don't you think it gives it that little something???
Away with the unbelievable mess of cords

Ta-Da!

I didn't notice the lid wasn't on the basket until just now and of course I can't fix it....my little OCD self with have to live with the not picture-perfect picture
From fifties to fabulous!


Join the Party

Domestically Speaking
Thrifty Decor Chick
Between Naps on the Porch
Making the World Cuter
The Girl Creative
Sumos Sweet Stuff
The DIY Showoff
Keeping it Simple
Thrifty Treasures